Hi everyone, I’m Jennie with a cute and inexpensive DIY shadow box tutorial. This is a perfect gift for Mother’s Day and it’s so easy kids can make it! Shadow boxes tend to be expensive, so instead, we are going to use a frame from the dollar store.
Supplies:
- Tombow Foam Tape
- Frame
- Tombow Xtreme Adhesive
- Photos
- Scrapbooking products
Image may be NSFW.
Clik here to view.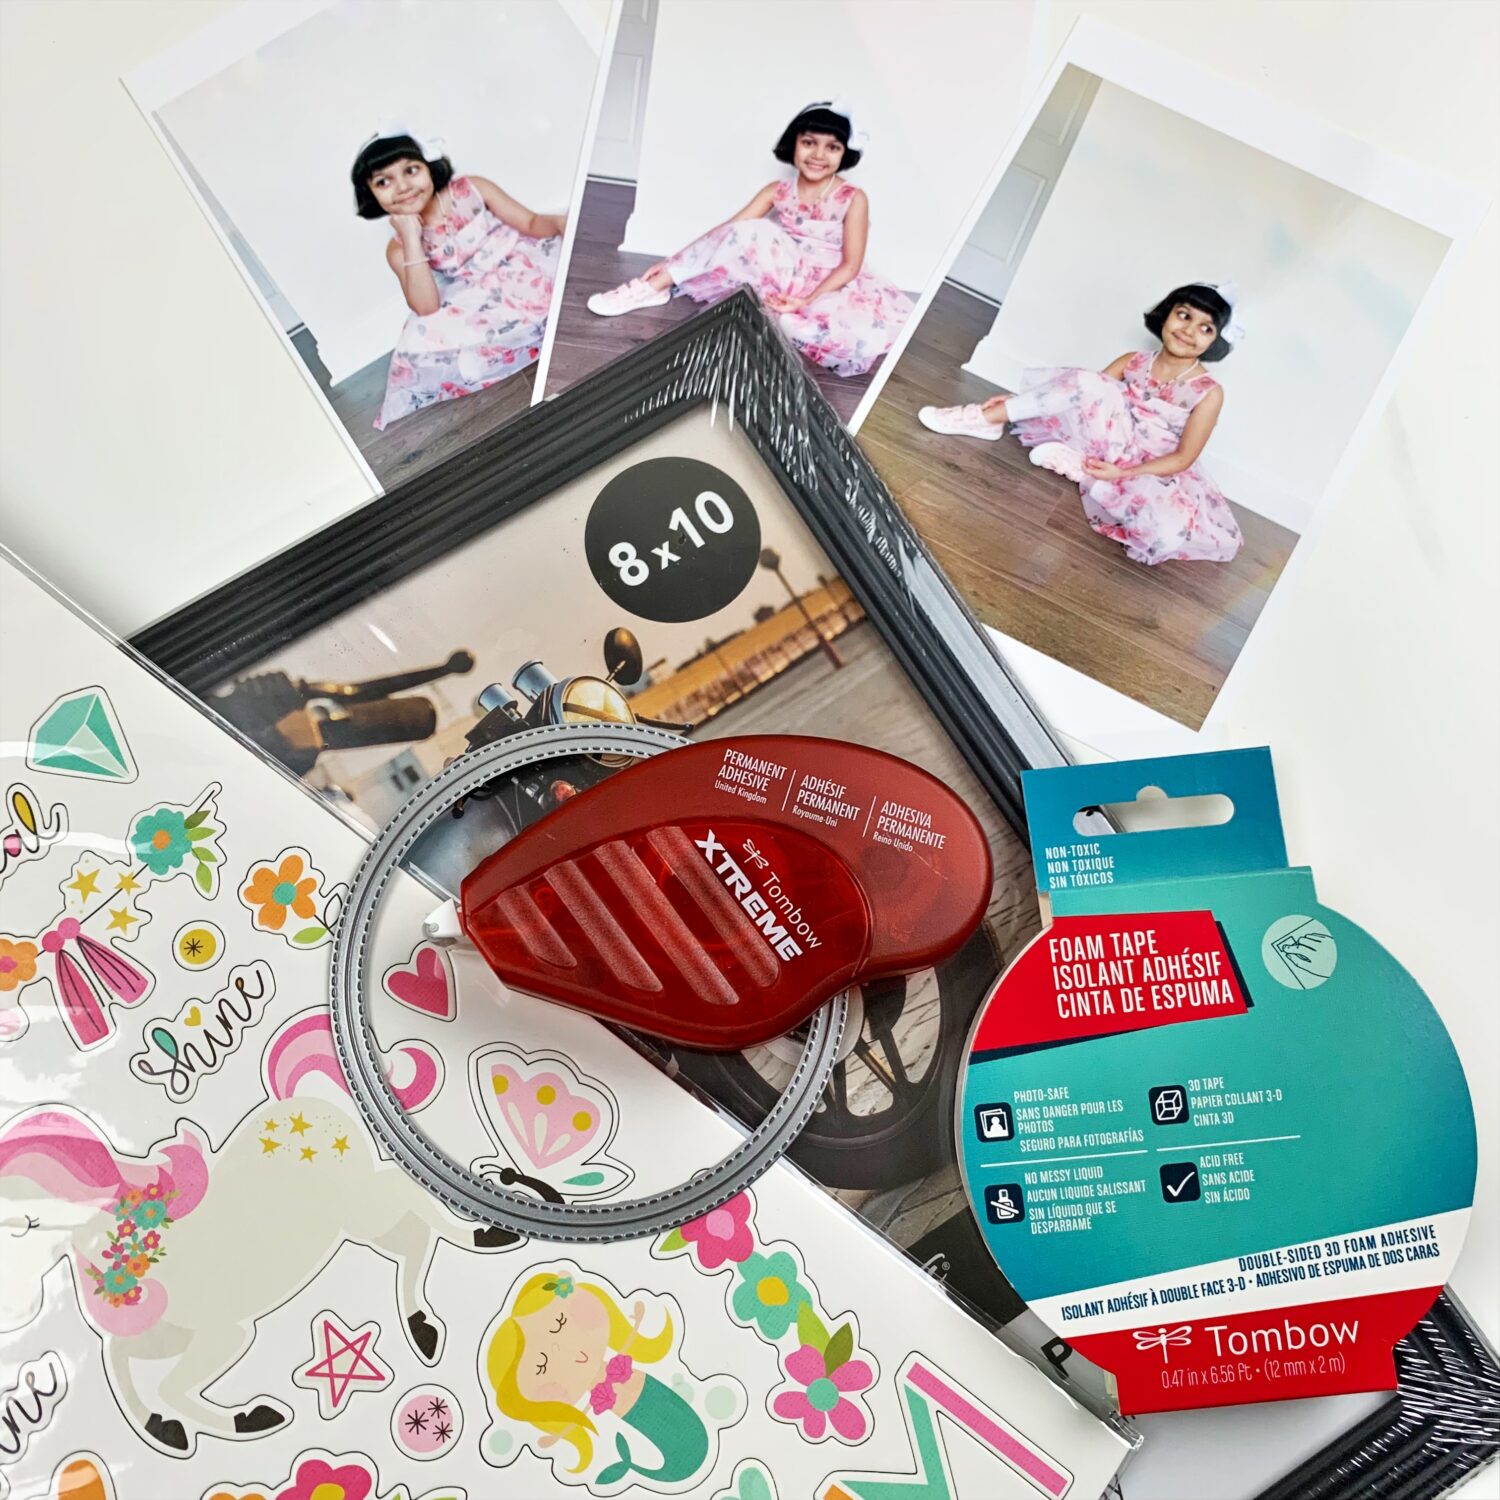
Step One:
Cut a piece of cardboard the size of the frame. I used an 8×10 frame that I bought at the dollar store. Cut a pattern paper the same size as the cardboard. Use the Tombow Xtreme Adhesive to glue the pattern paper on the cardboard.
Image may be NSFW.
Clik here to view.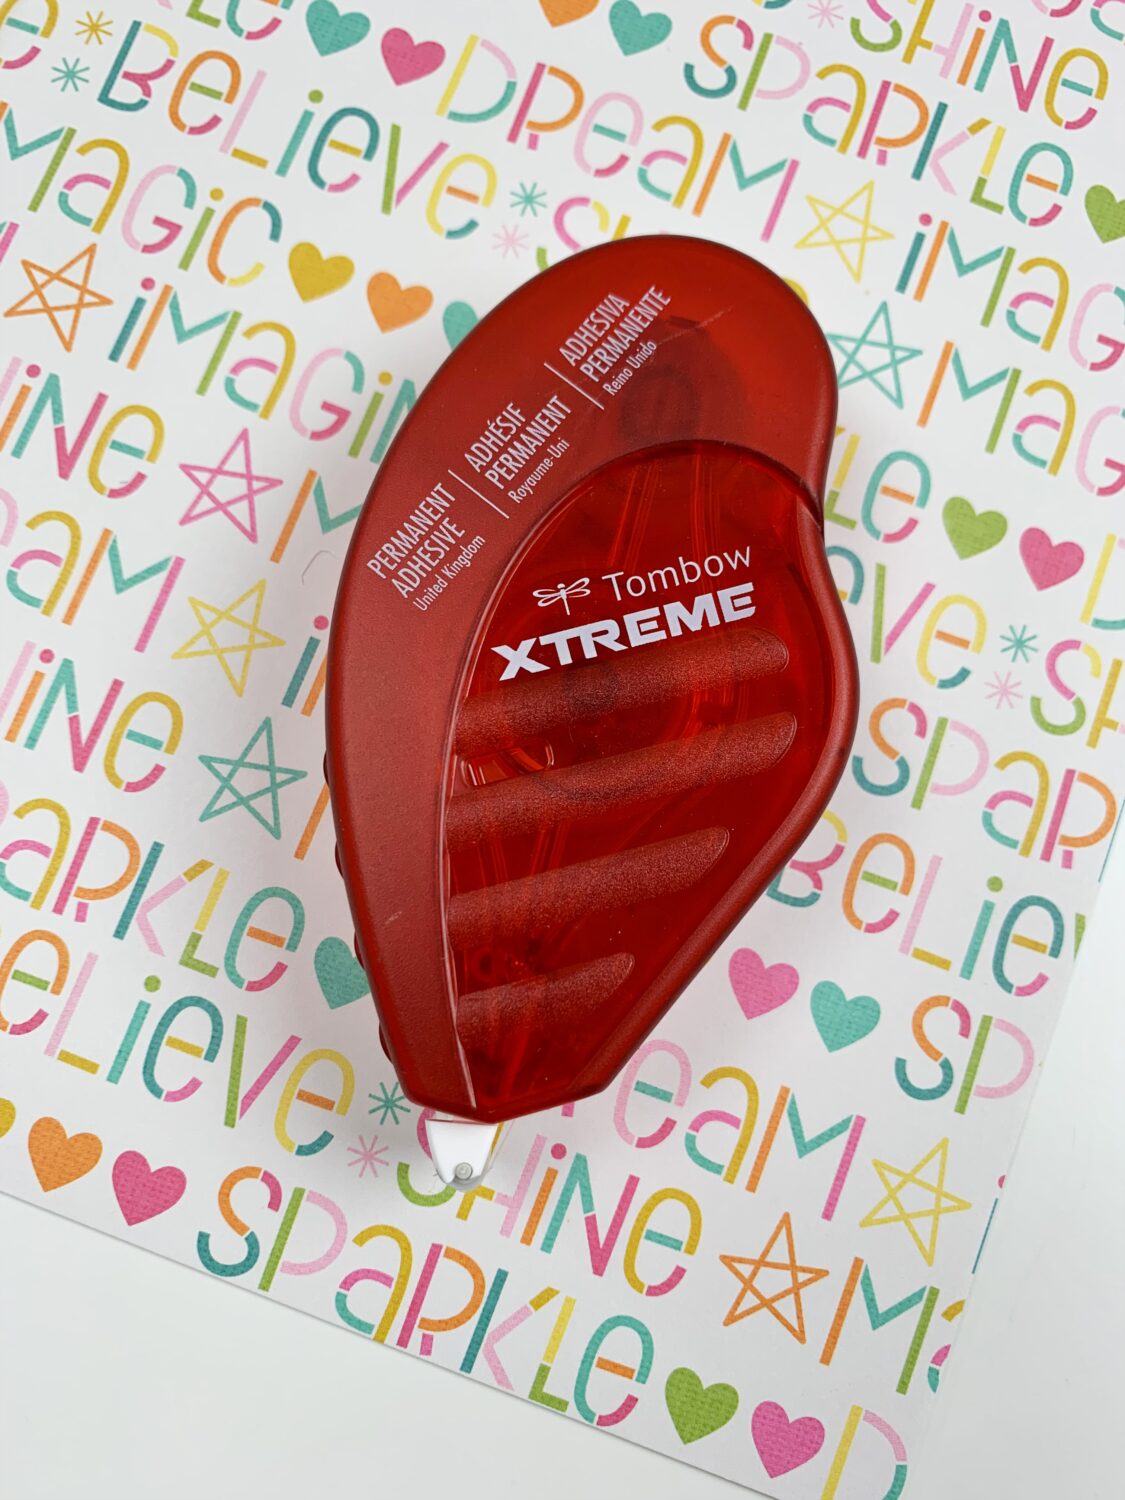
Step Two:
One of the things that make shadow boxes fun is dimension. Use the Tombow Foam Tape to make the photos and elements pop. Since the photos are the most important part of this shadow box, I’m placing them first. Instead of photos, you can also use lettering or a poem.
Image may be NSFW.
Clik here to view.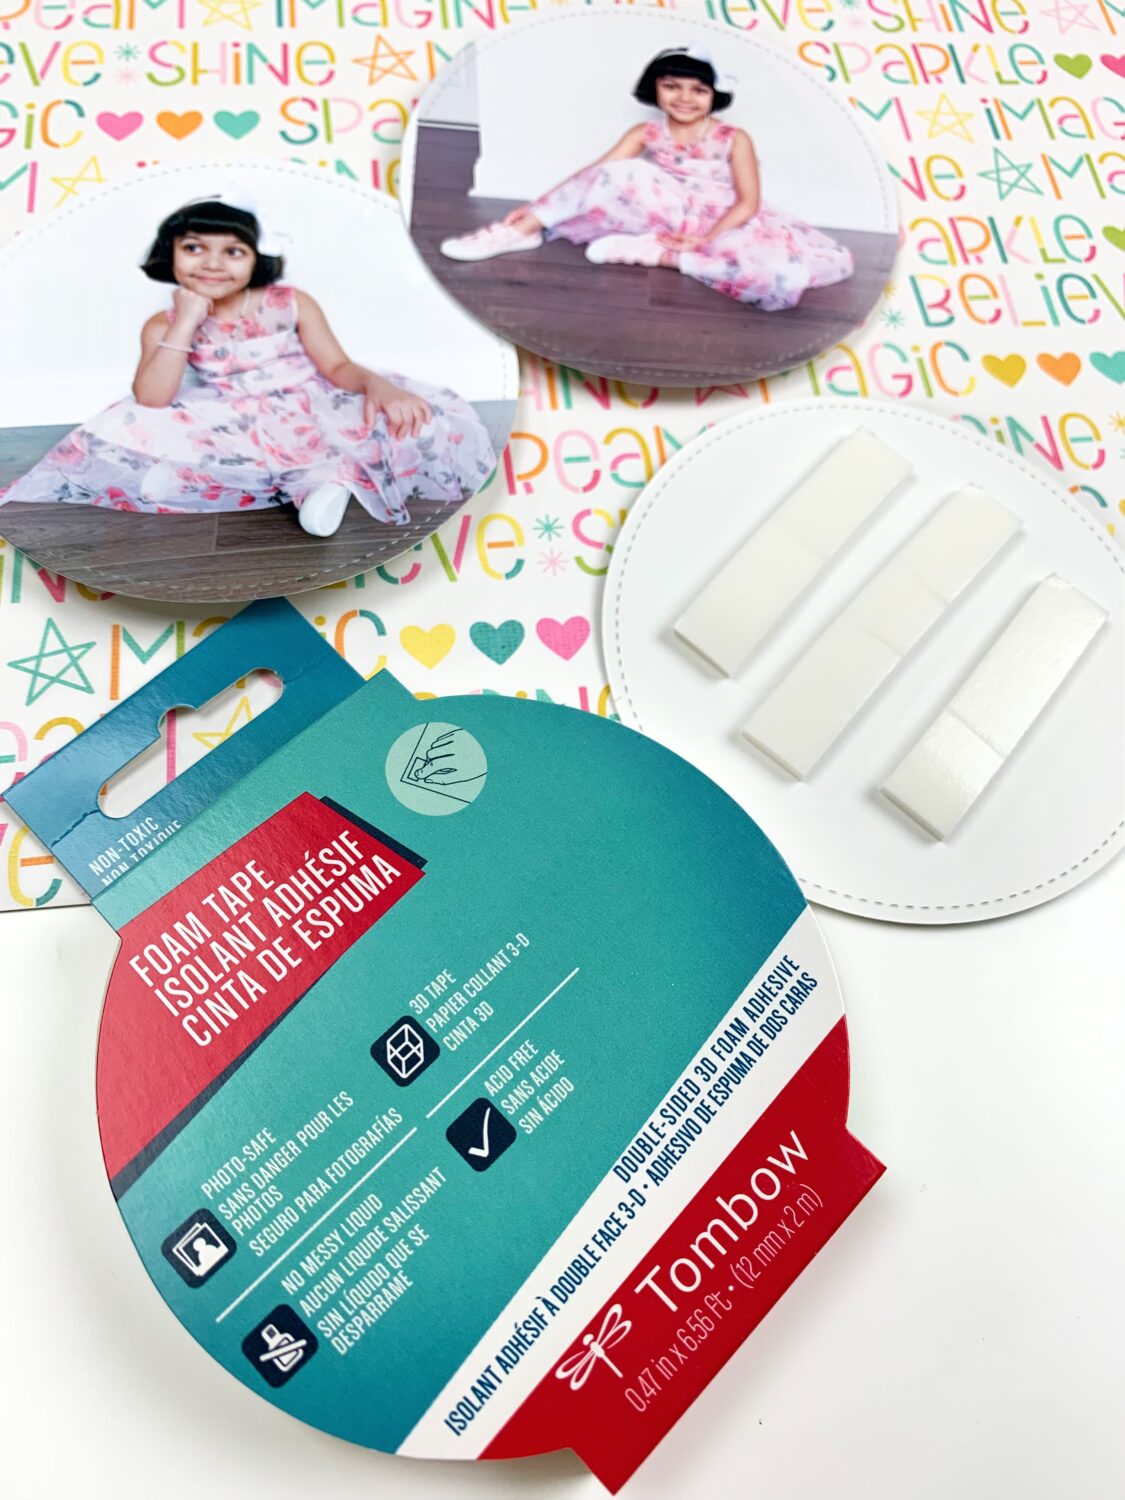
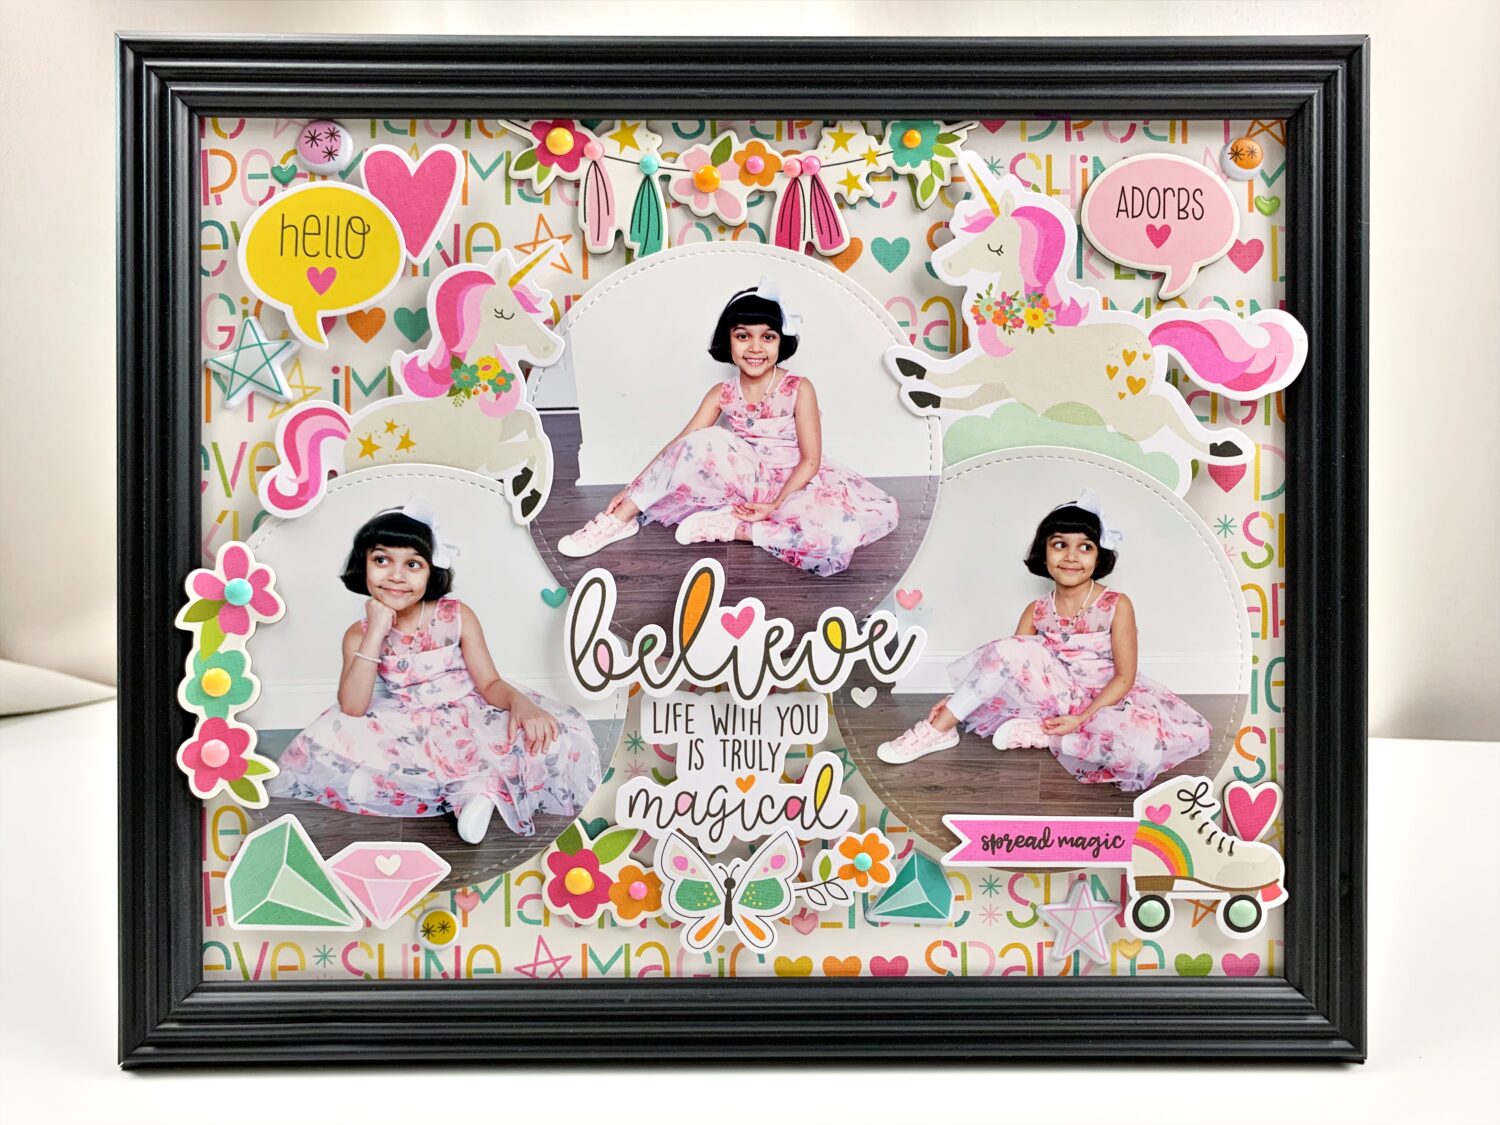
Step Three:
Use embellishments and stickers to decorate the image of the shadow box. Reinforce the chipboard stickers with the Tombow Xtreme Adhesive. Workaround your photos or focal point.
Image may be NSFW.
Clik here to view.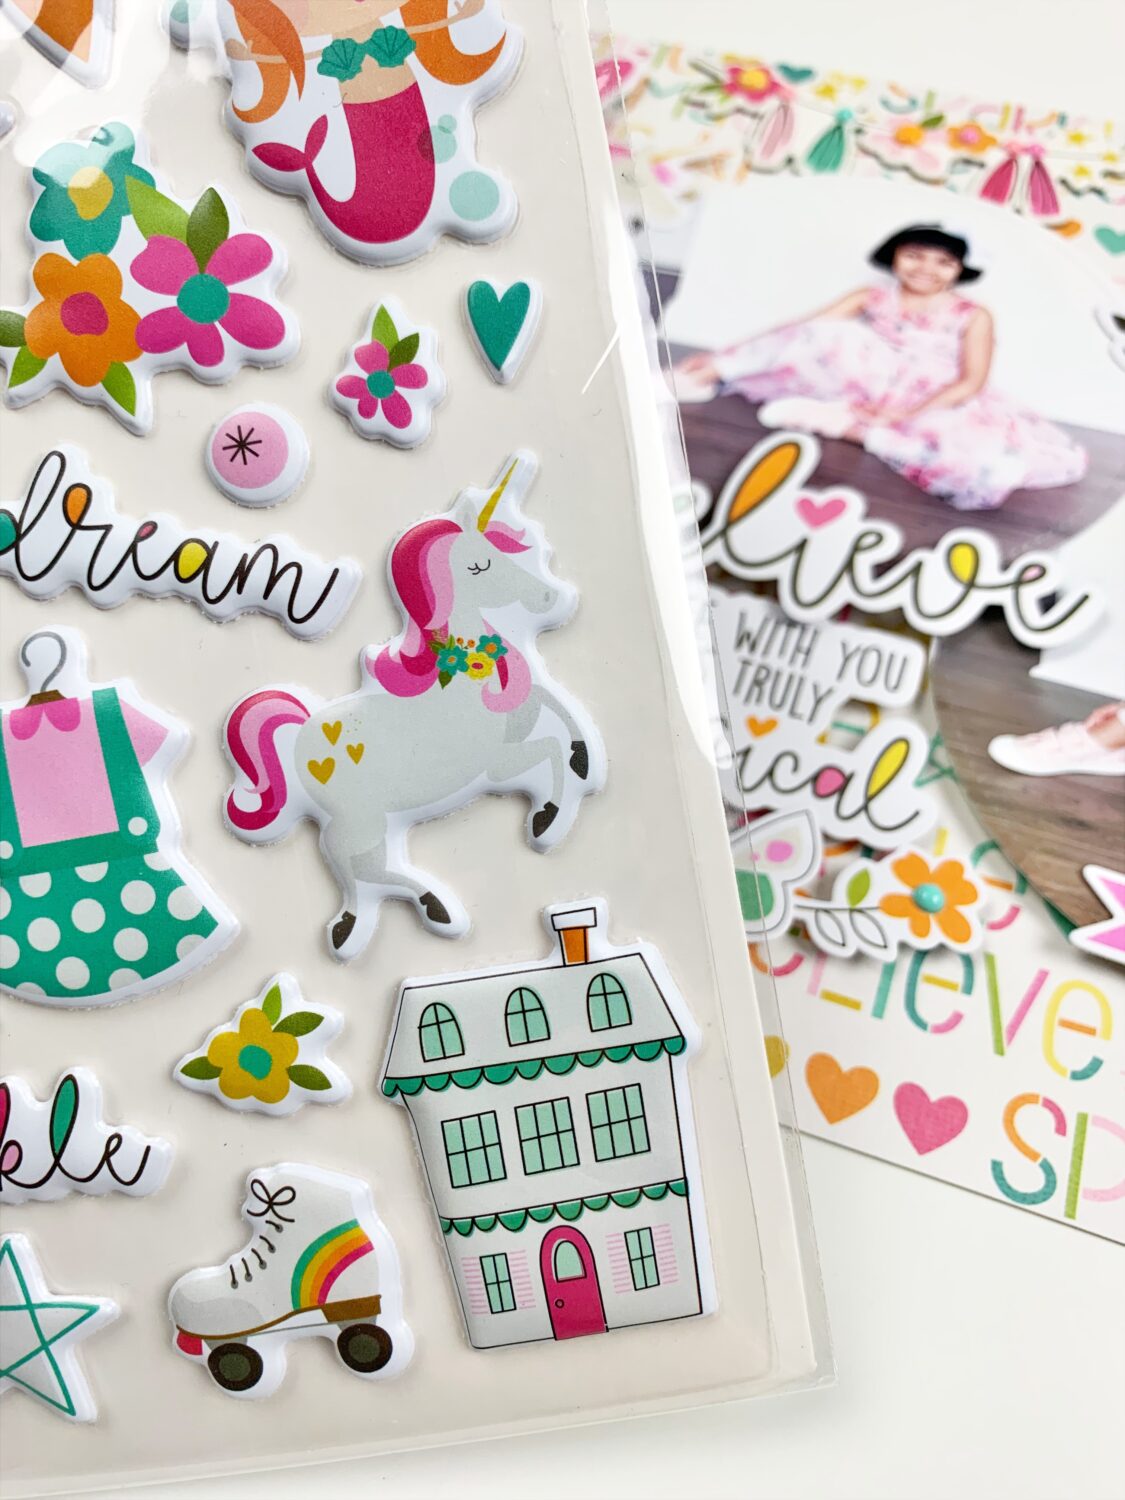
Step Four:
Remove the glass from the frame. Put the layout inside the frame and close the back.
Image may be NSFW.
Clik here to view. Step Five:
Add other sprinkles, like enamel dots or buttons.
Image may be NSFW.
Clik here to view.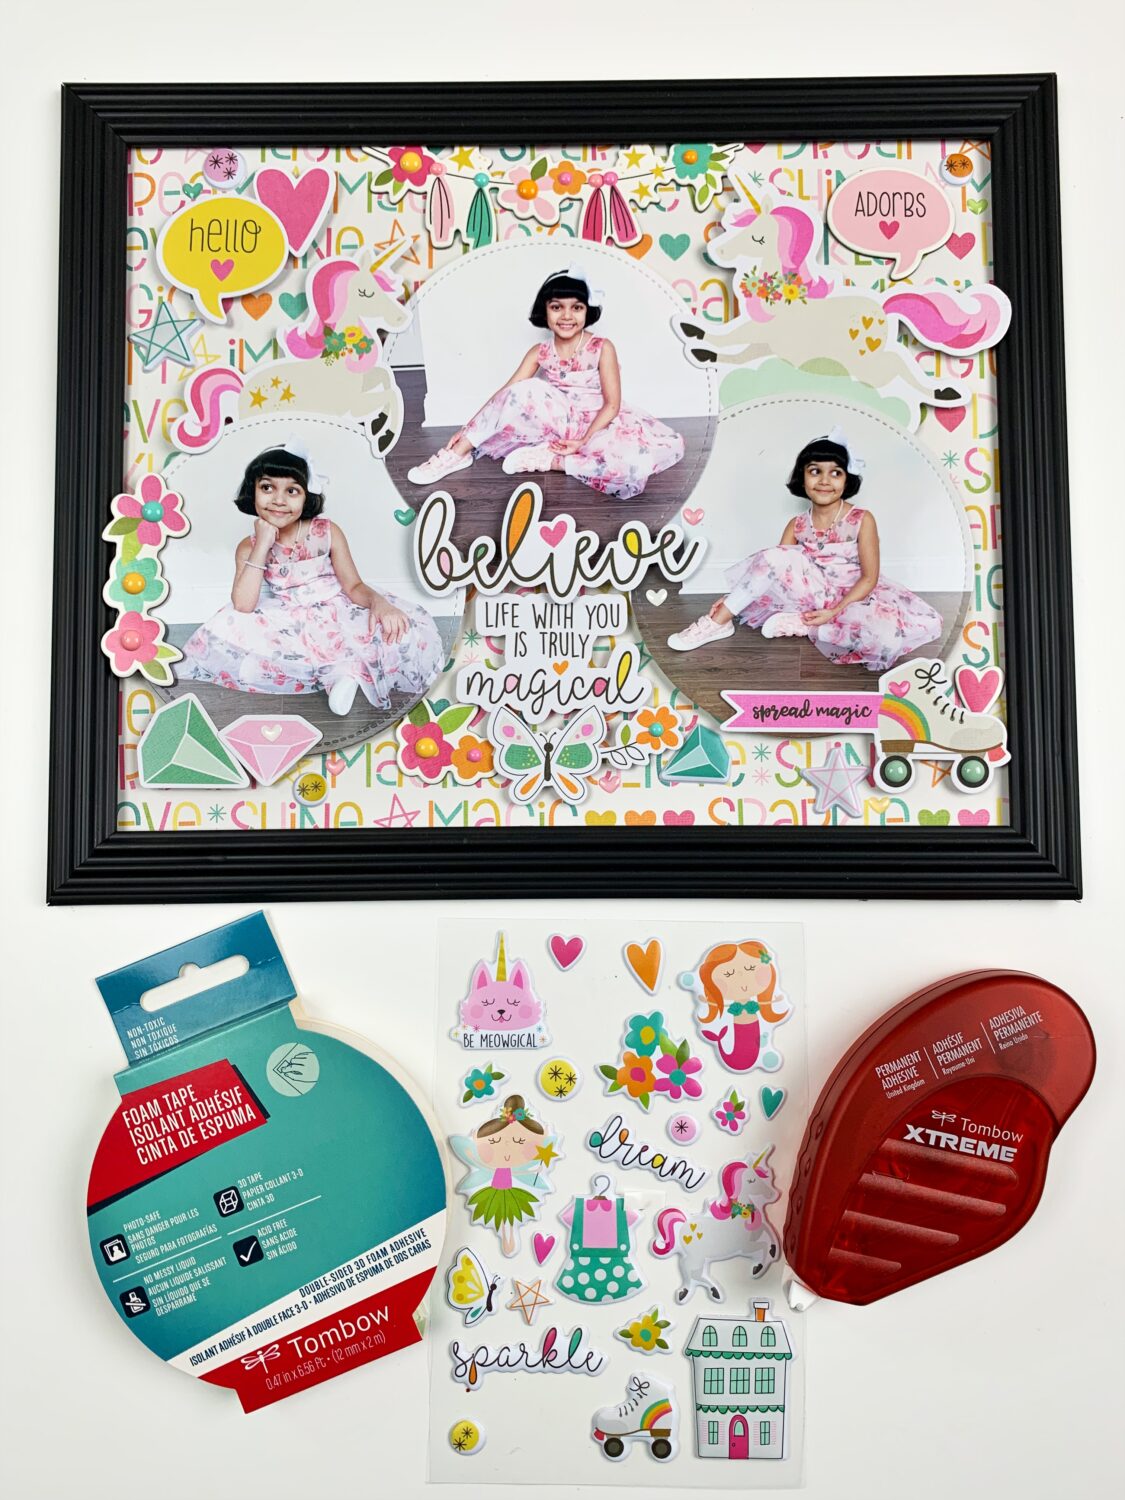
You can use the Tombow Mounting Putty to put the shadow box on the wall. Shadow boxes are heavy, but using a frame is lighter and easier to hang.
Image may be NSFW.
Clik here to view.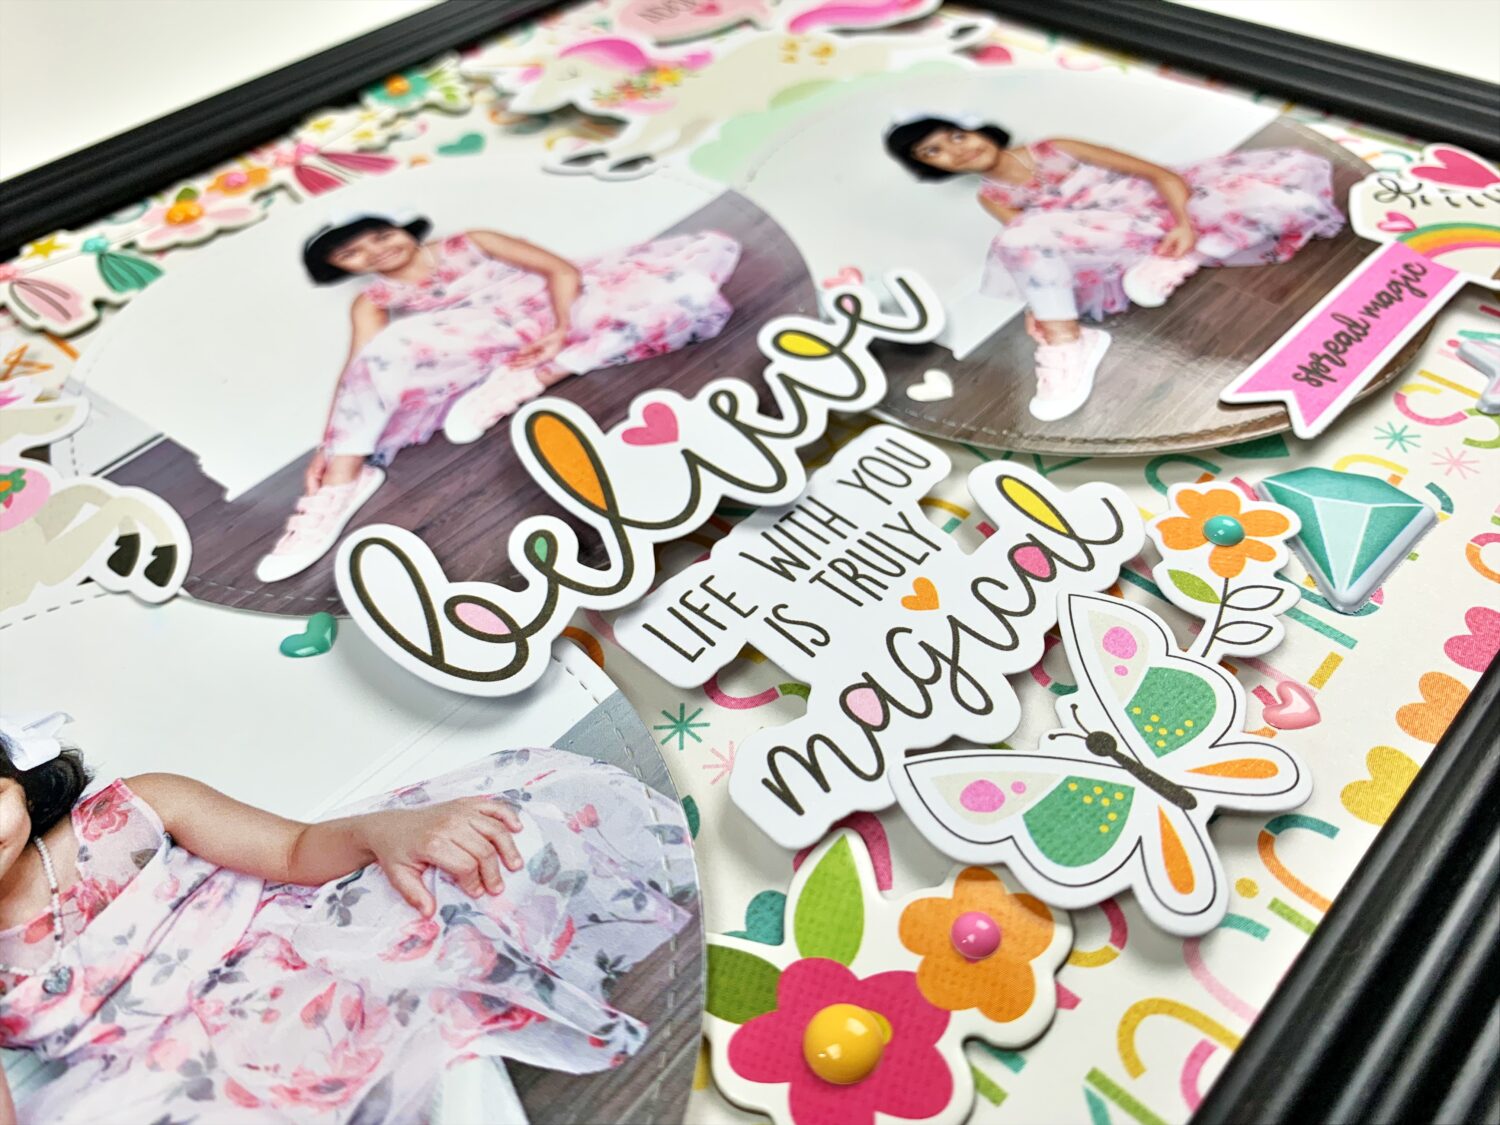
I hope you give this project a try! If you do, share it with us on social media using the hashtag #tombowusa.
Image may be NSFW.
Clik here to view.
The post Give Mom a Cute DIY Shadow Box appeared first on Tombow USA Blog.
